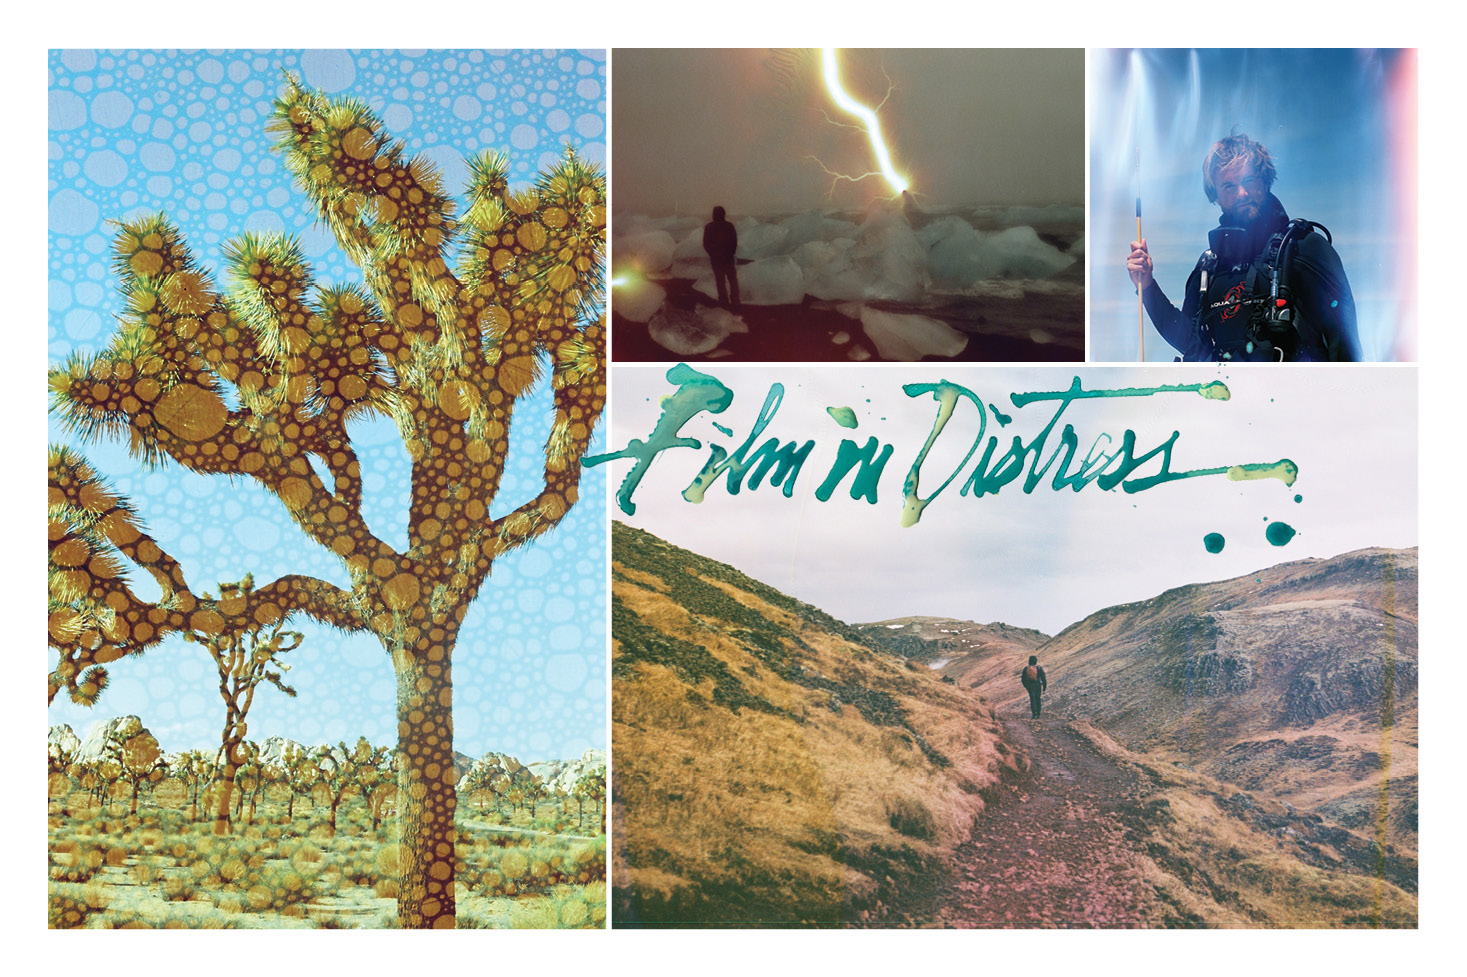
I have a deep appreciation of all things destroyed, perhaps due to my clumsy nature as a child, and the inevitable brokenness of whatever I touched. I was working in an analog camera store during my senior year of college when I learned about process of distressing film. A fool for nostalgia and dreamlike states, I wanted to create these elements in my own photo work pre-production. Post-production editing started to bore me. I needed a change, a challenge. This was my sweet answer.
I began distressing every roll I touched: boiling it on the stove, washing it in my laundry, peeing on it, soaking it in cleaning solution, bleaching, soaping, and dumping it in coffee, beer, alcohol and vinegar. No household liquid was safe from my brew.
Some of these potions were disastrous, leaving my film black or so corroded the negative fell apart while trying to load it. During my four years of distressing, trial and error has been the best way to discern which methods gave me my intended effects. Today I use two simple ingredients: water and lemon juice. If you want to give this a whirl, I’ve shared my, now, very simple process.
- 1 cup pure lemon juice
- 3 cups hot water
Boil 3 cups of water on the stove. Right before the water boils, transfer it to a lidded liquid container—I use a cleaned pickle jar. Add lemon juice, and add the film. Shake for a few minutes and let sit for 20. Repeat the process five times. After an hour, take the film out and put it on a plate near a well-lit window or outside. Leave the film to dry for two weeks. Load up your camera and start shooting!
I suggest experimenting. The process you fall in love with will be uniquely your own. I can guarantee you’ll enjoy the long strange trip that gets you there.
This article was originally published in RANGE Magazine Issue Five.