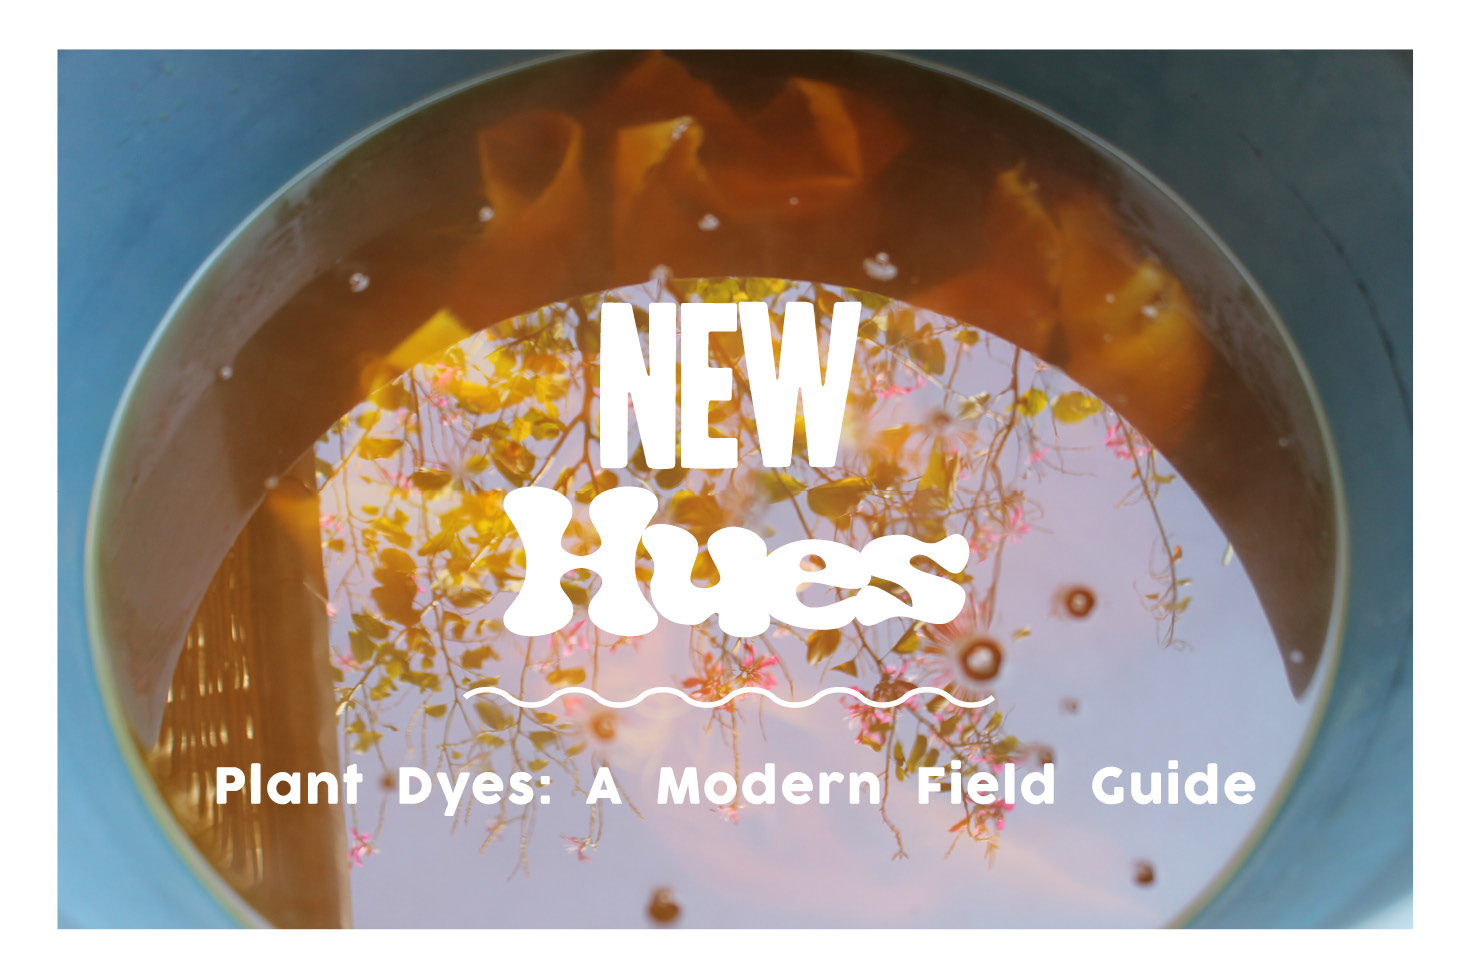
When I tell people I dye fabric with plants, they immediately paint me as a some sort of bohemian earth mama. In reality, I‘m more of a type-A workaholic with a love for plants. This perception has more to do with what people have heard about “natural dyes” than first-hand knowledge. Indigo is the only plant dye that’s become a part of mainstream culture, but it’s quickly paving the way for others.
I learned to dye in Oaxaca, Mexico, and can remember pulling out my first sample from a pericón bath. Hummingbirds floated above the courtyard as I removed my lemon-ocher silk yardage. Then there was pomegranate (saddle brown to black), cochineal (lavender to red), and the most famous of all plant dyes, indigo. When I moved to the Bay Area, I dyed with California sagebrush and extracted an earthen yellow with a clean, sweet fragrance. I dyed with Toyon, an evergreen shrub that produces caramel hues and fills the air with the scent of marzipan. In the Mojave Desert, creosote bush yielded bright yellows and sage greens accompanied by the wet clay fragrance of desert rain: petrichor. The colors were rich and complimented their natural habitat’s sight and smell. In Texas, you can achieve rust to black with green pecan hulls, abundant from late summer to early winter. As I’ve moved around, plant dyes have become a framework for exploring place.
Designers are experimenting with local color to reconnect with their materials and with the act of making. Dyer and artist, Rowland Ricketts, said that working with plant dyes creates “a connection to making from within the immediate environment and a connection to greater human traditions of making.” Dyeing with local plants gives each project an origin story detailing time and place through color palette. The process requires few basic tools to get started, and this basic recipe can be used for all natural fibers and done at home, but be careful! You might turn into a bohemian earth mama like me.
Instructions for a Summer Blanket
Day 1:
Harvest 4-5 handfuls of plant material, leaving branches or stems intact. Never harvest more than 20% of a plant. That ensures the plant’s survival from one year to the next.
Soak the plant material in water overnight in a 5-gallon bucket. Wash your natural or un-dyed cotton yardage with hot water and 4 teaspoons of soda ash to remove any surface dirt. Tumble dry on high heat.
Day 2:
Cut a few sample squares about 3 inches by 3 inches from your cotton yardage. Fill a pot with enough water to cover your fabric. Bring to a simmer and add 3 tablespoons of alum. Add the fabric and samples to the bath and simmer for 45 minutes, stirring occasionally. Remove the fabric and rinse. If you’re using wool, never move the fabric from a hot bath to a cold rinse or vice versa. To finish wool blankets, you will use a blanket stitch versus a rolled hem.
Fill the pot again, this time with enough water to cover your plant material and fabric. Put the plant material in the pot, bring to a boil, and then reduce to simmer. Simmer for 30-45 minutes, and then put a small piece of fabric in the bath to sample the color. Leave the sample in the simmering bath for 15 minutes. Pull out the sample to check the color. If you’re happy with it, ring out your cotton fabric and add it to the bath. Simmer it with the plant material for 45 minutes or until you’re happy with the color. Remember, the color always turns out lighter once the fabric is dry. If the color is too pale or there is no color, try a different plant or kitchen scraps. Once you’re happy with the color, remove the fabric, rinse it and hang to dry.
Day 3:
Now it’s time to construct your blanket. Roll your hems to ¼ inch and iron flat. Roll the hem and iron again. Now you have a rolled hem you can sew using a straight stitch on a machine or with a seed stitch using a needle and thread.
This article was originally published in RANGE Magazine Issue Five.
xx Céline Thibault
Images by Céline Thibault and Kate dePara. Illustrations by Céline Thibault.
